JayDax Icarus guide to a more advanced base.
Once you are at level 20 you can create steel tools. The steel pickaxe will allow you to collect the titanium, aluminium and platinum ores and it's a lot faster to use than iron or stone pickaxes for other ores. Time to go mining those ores titanium, platinum, aluminium.
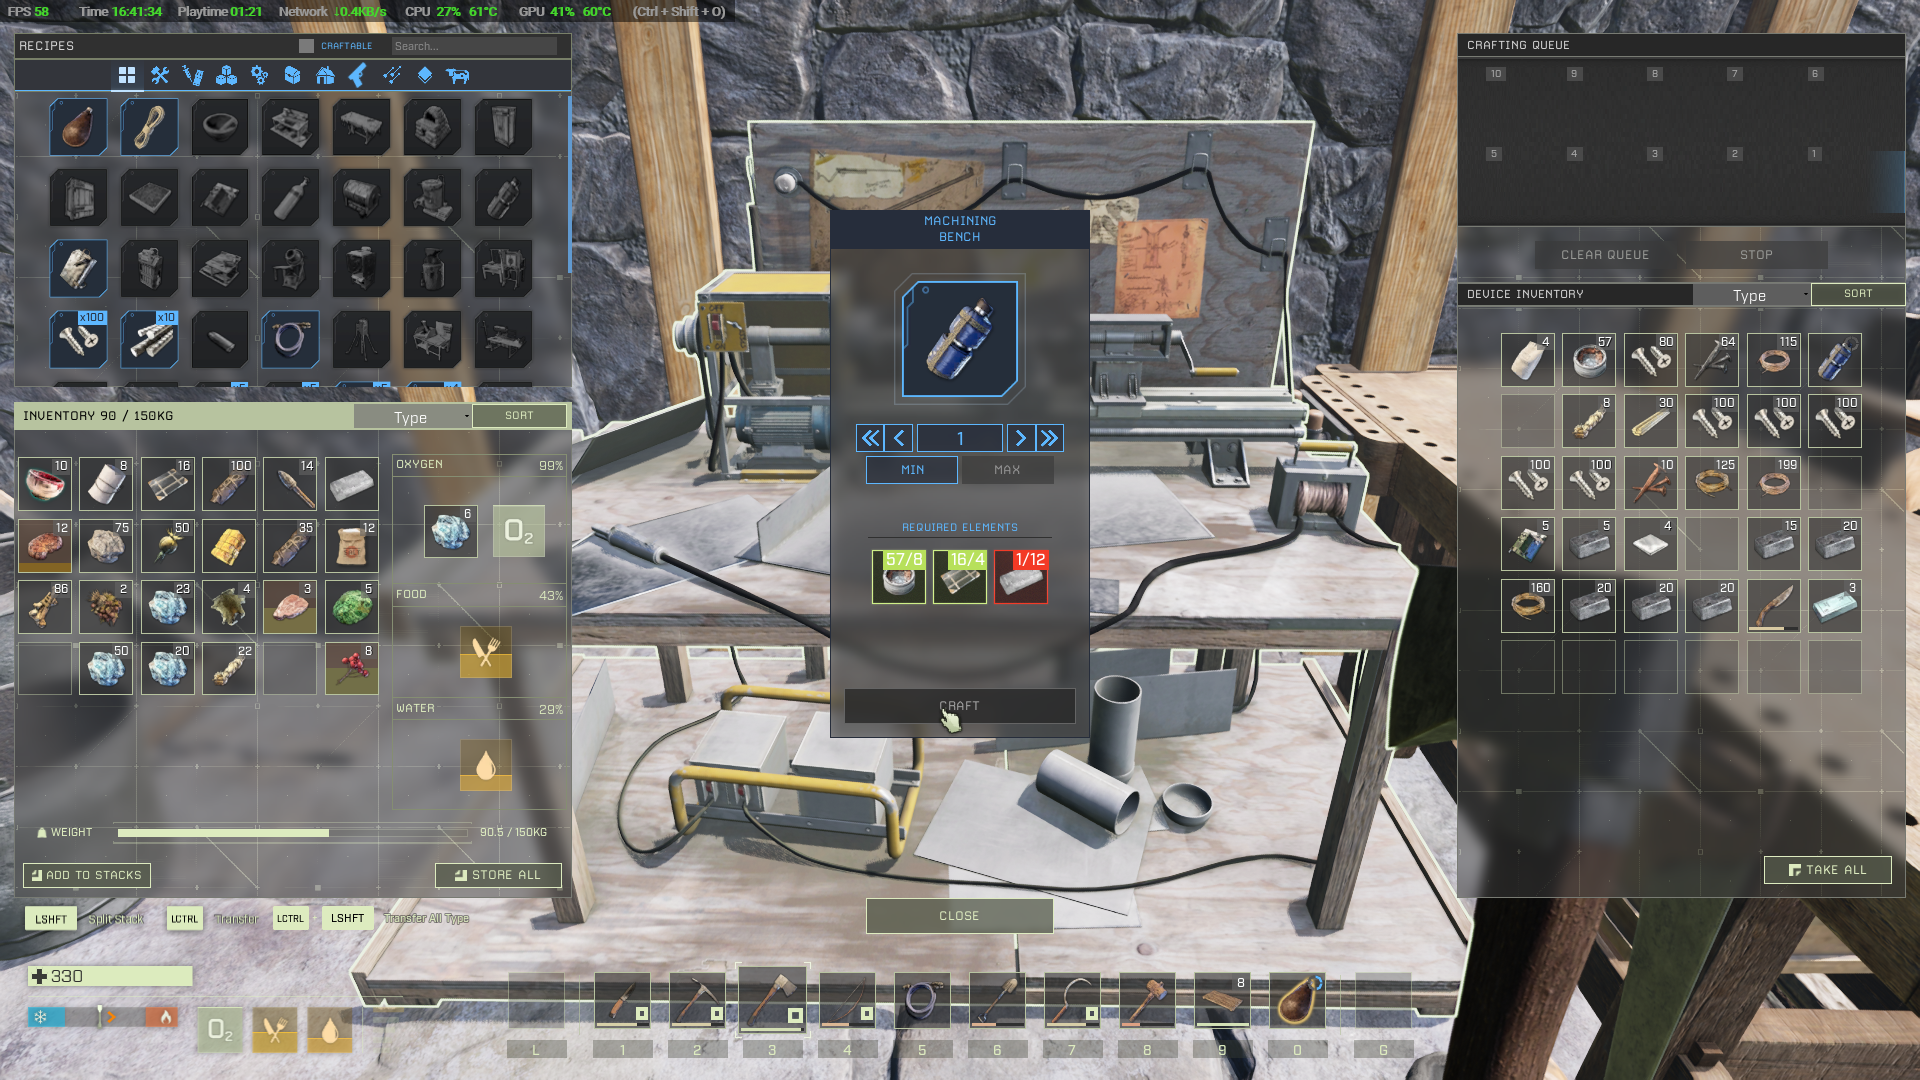
Another major advantage of being at level 20 is that an array of extra deployable items are opened up in Tech tier 3 The first of these is the machining bench which will replace your crafting bench. Get it and install it in all that extra space you created. Then immediately use it to produce two cement mixers and deploy those too.
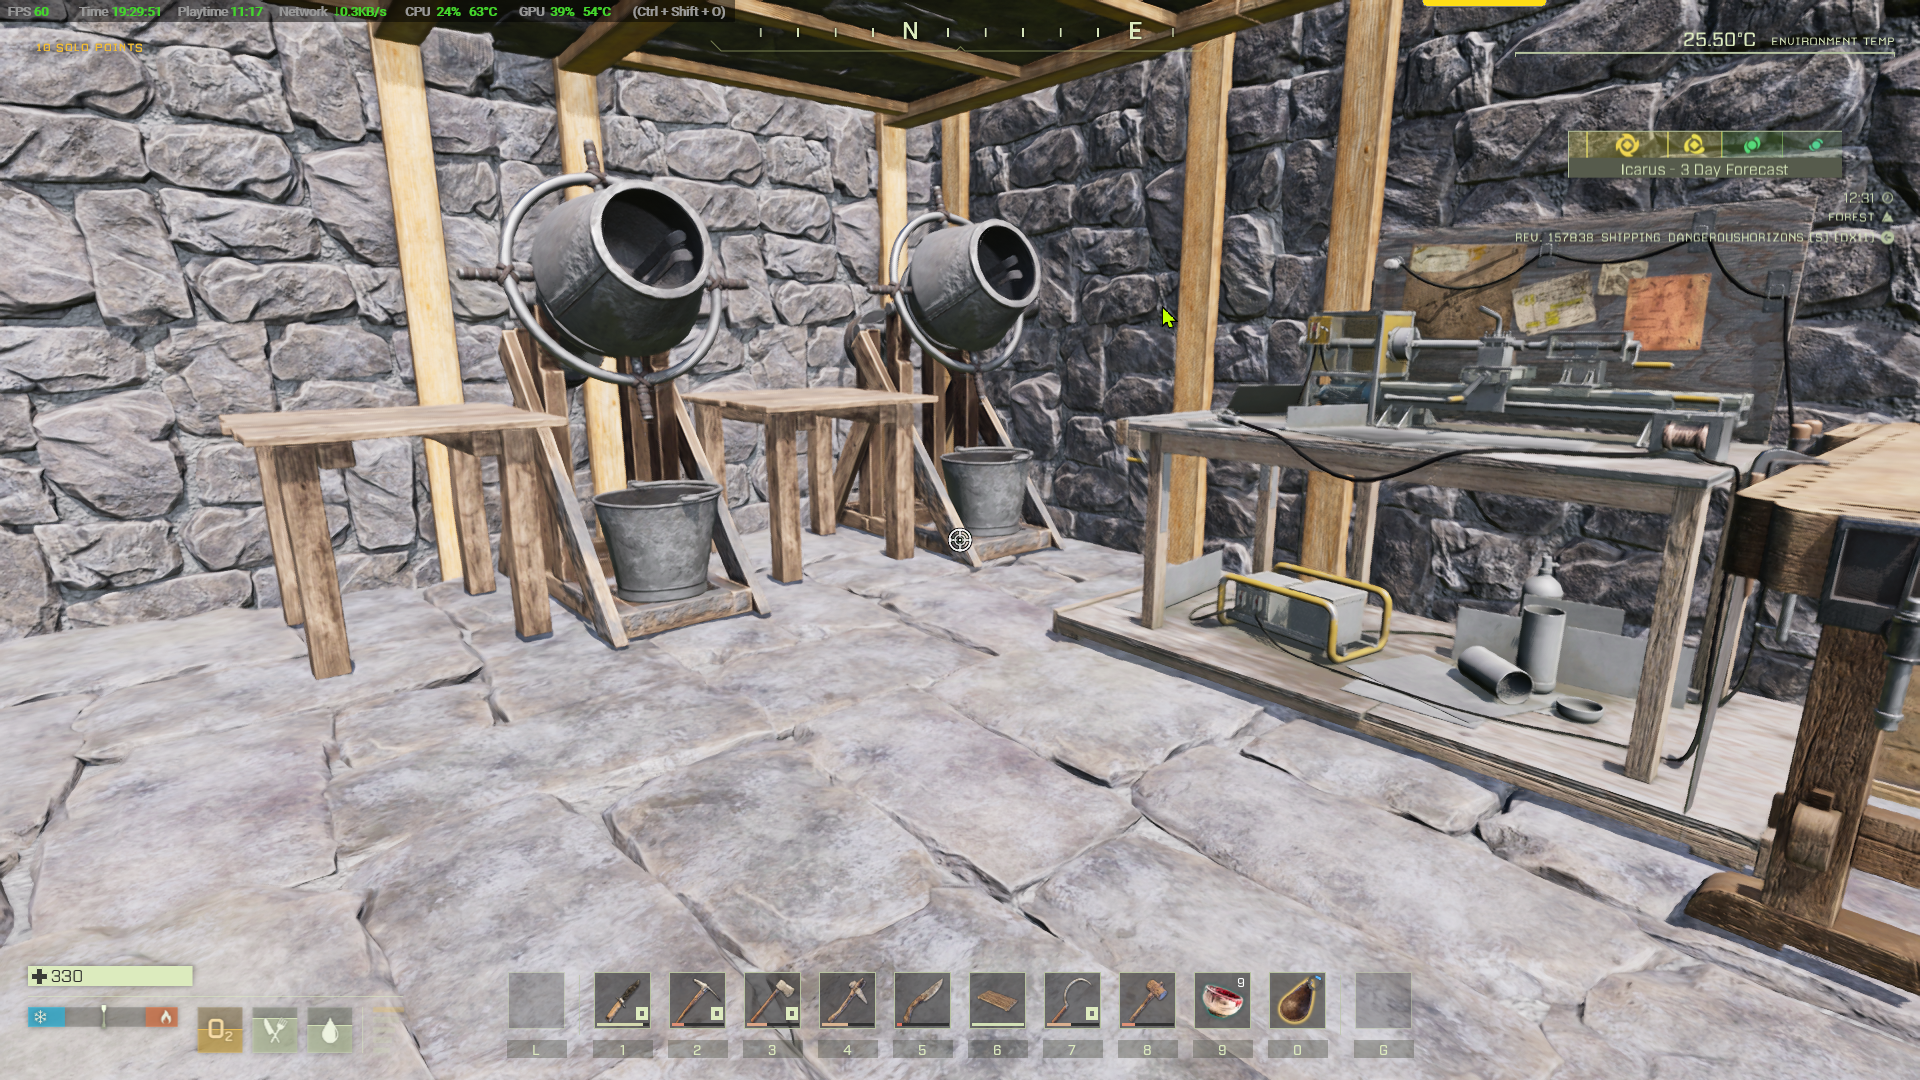
Use the cement mixers to start producing concrete mix. You'll need lots of it. Each bag needs 1 tree sap, 8 stone and 4 silica.
As and when you are able, make a concrete furnace (20 concrete, 12 epoxy, 12 iron ingots, 8 rope) a glassworking bench (40 copper nails, 6 epoxy, 24 iron ingots, 10 refined wood, 6 rope), a biofuel composter (12 concrete, 8 copper ingots, 20 iron ingots, 20 steel screws) and at least three biofuel cans(25 iron ingots each).
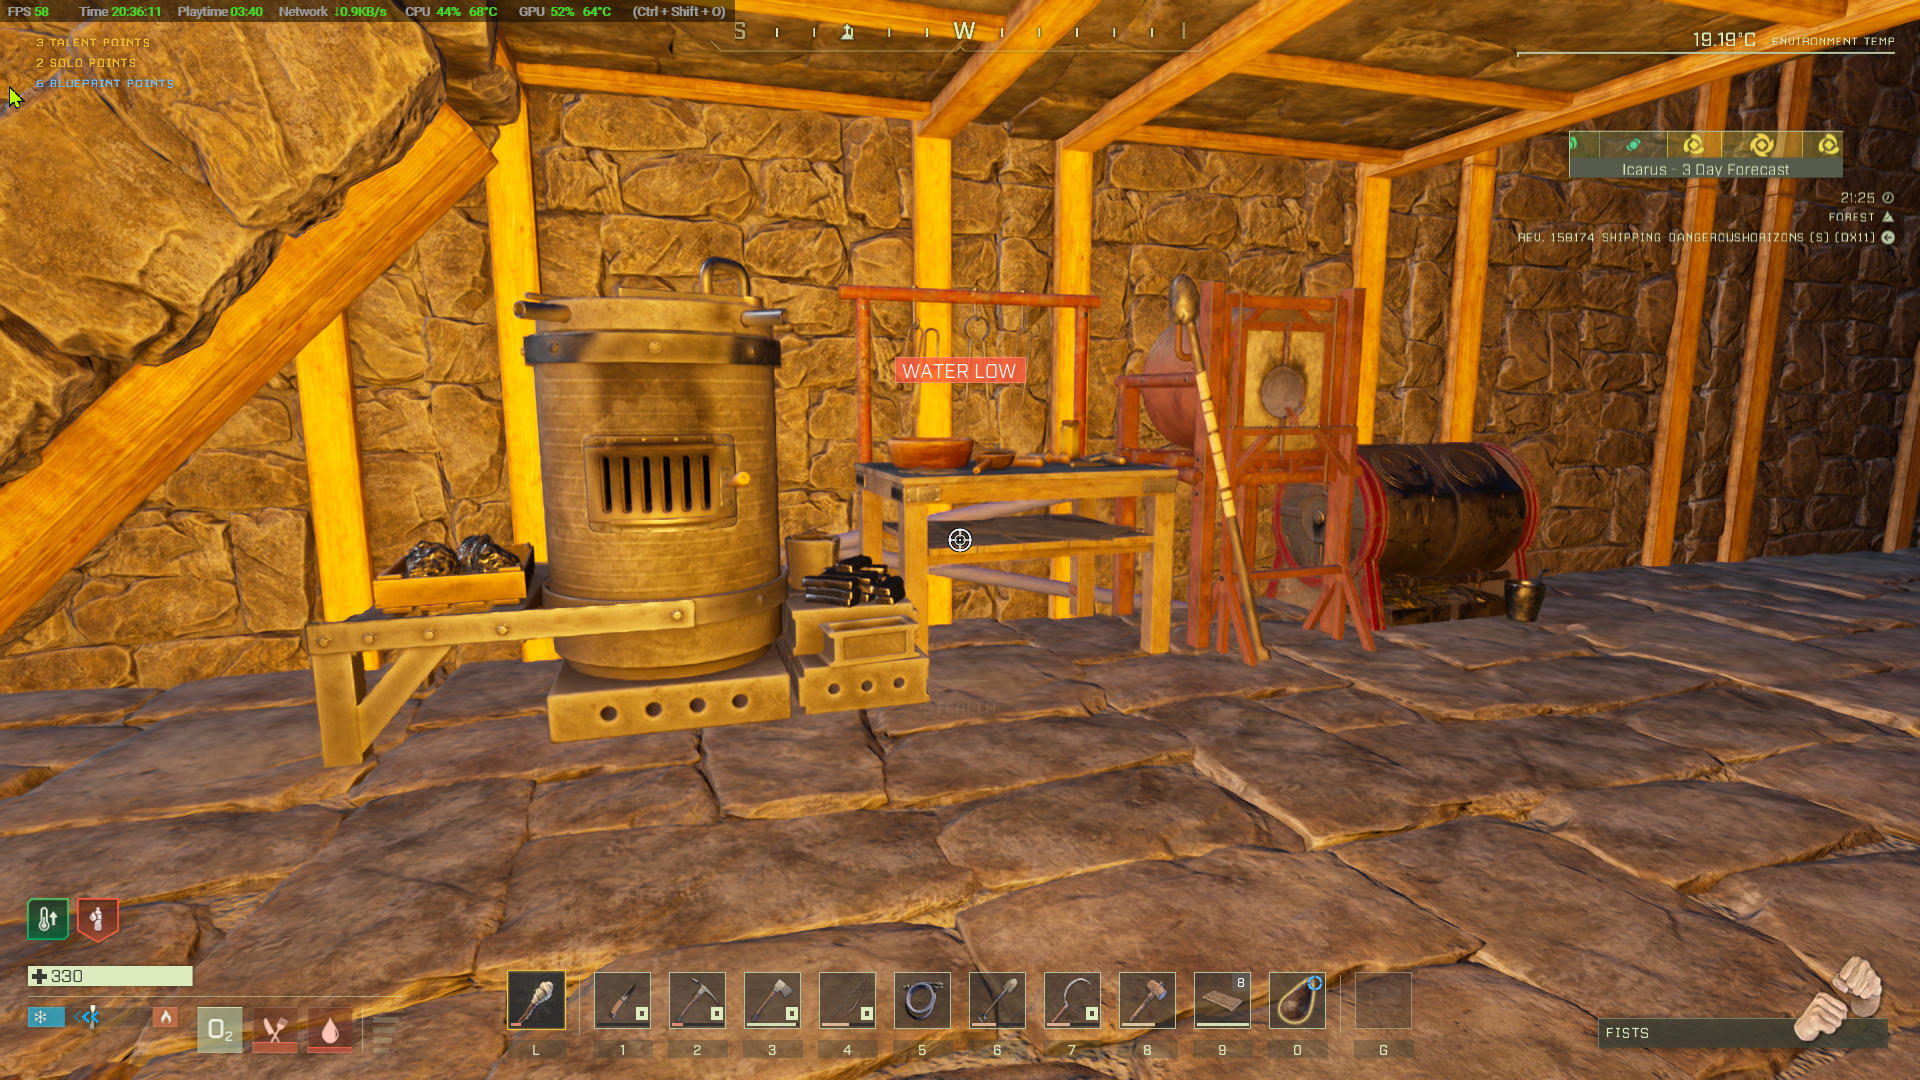
Make and add a final deployable for now - a forge. It needs 8 epoxy 20 iron ingots, 20 steel ingots and 150 stone.
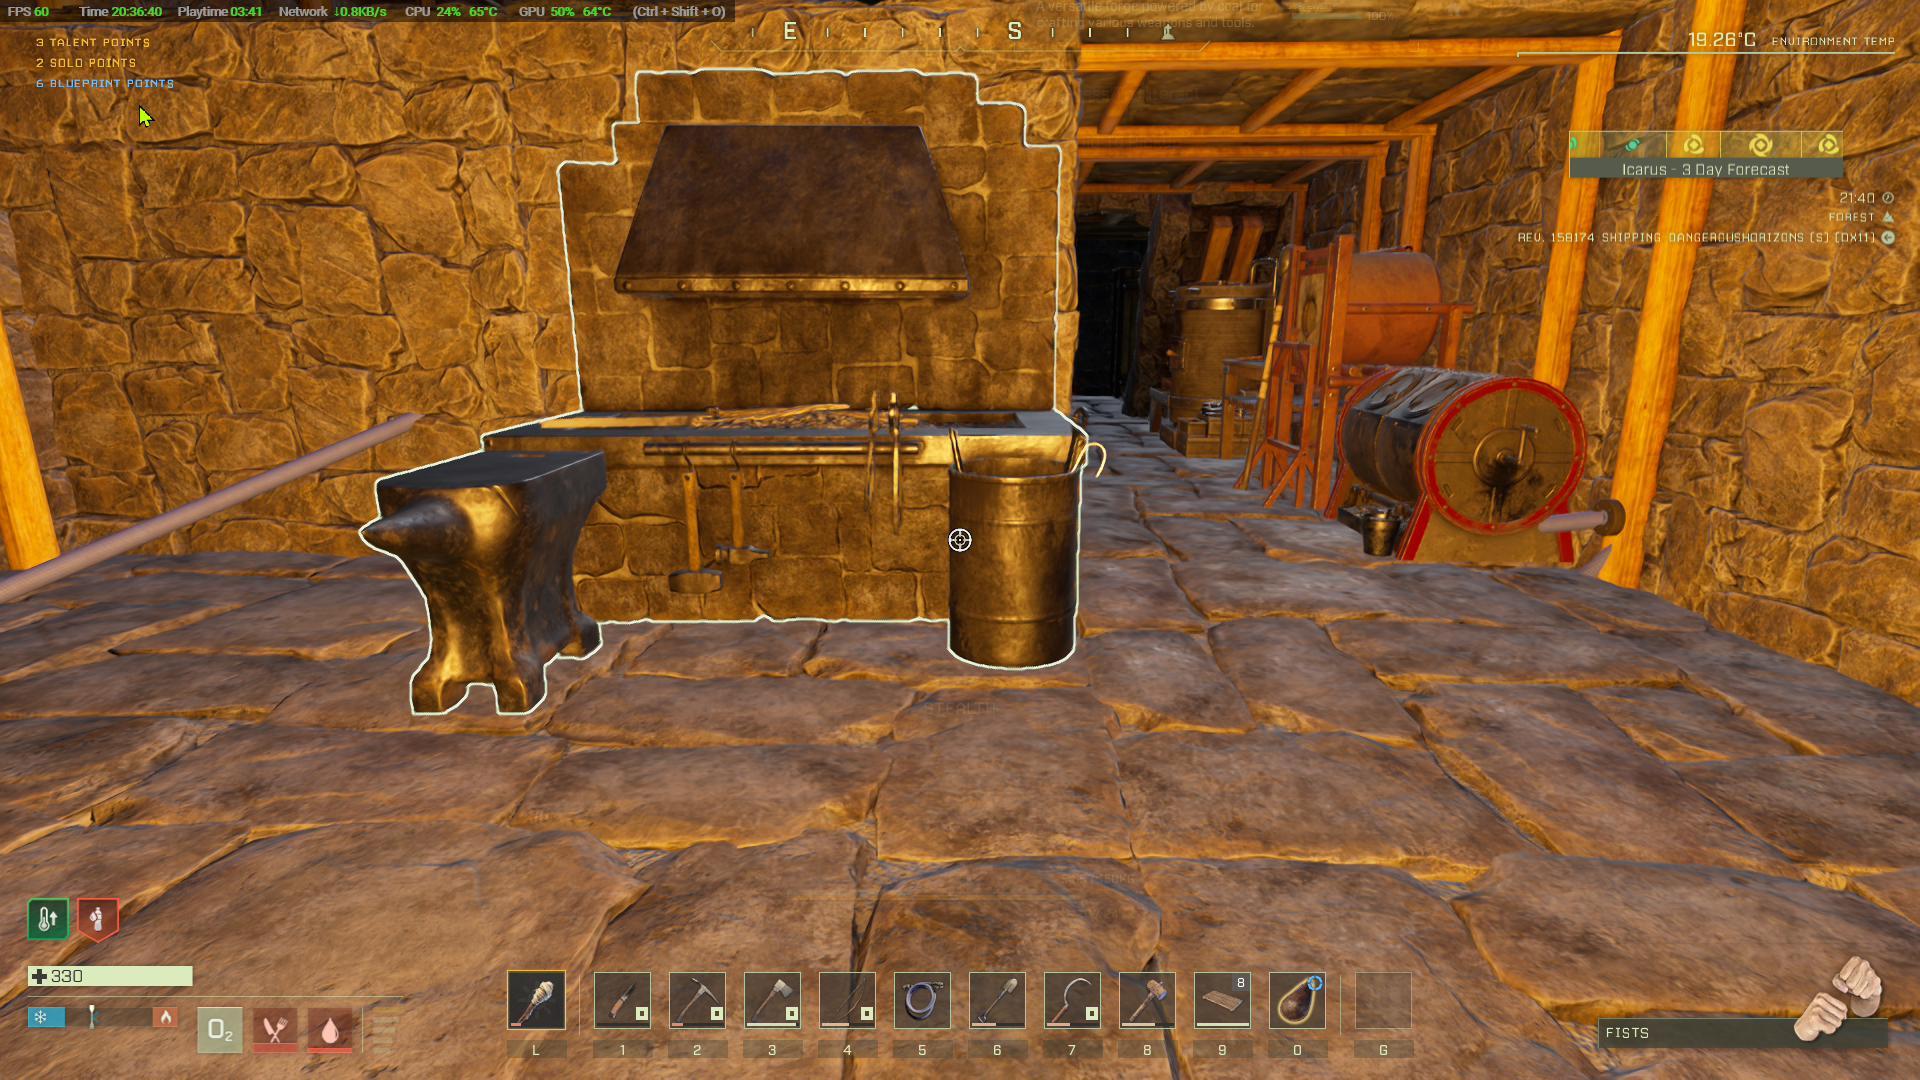
A reminder…
- Make refined wood using the woodworking bench.
- Make rope at the crafting bench using fiber.
- Make epoxy resin in the mortar & pestle from crushed bone or Sulphur and tree sap.
- Make tree sap in the mortar & pestle from wood.
- Make steel bloom using either iron ore or iron ingots in the mortar & pestle with either coal or charcoal (check inside the firepit for the latter) Use the furnace to smelt that into steel.
- Make steel screws in the machining bench from steel ingots.
- Make Electronics in the machining bench using 15 copper wire, 2 epoxy, 5 gold wire, 2 organic resin.
- Make copper and gold wire from ingots in the machining bench
- Make organic resin from oxite and tree sap in a mortar & pestle.
- When you run out of things to do gather stone and silicon and make concrete in the cement mixer - you'll need lots in tech tier 4
- You can also use tree sap and sulphur to make epoxy. Again you'll need lots
- Apart from decorative items the only use for gold ingots is to make gold wire
- Stone walls are largely weather resistant but not as good or neat as concrete walls and items. You can make those in the cement mixer.
Pumped water
You may have noticed that some of the items above can have a water connection. The glassworking bench won't even work without one. Our next step is to make a biofueled water pump and a water network to distribute it to our equipment. Make a biofuel waterpump using 16 copper wire, 4 electronics, 12 epoxy, 16 steel ingots. It's made in the machining bench. To use it you'll need a container of biofuel made in the biofuel composter and a water pipe tool made in the machining bench (50 gold wire, 50 copper wire, 4 platinum sheath)
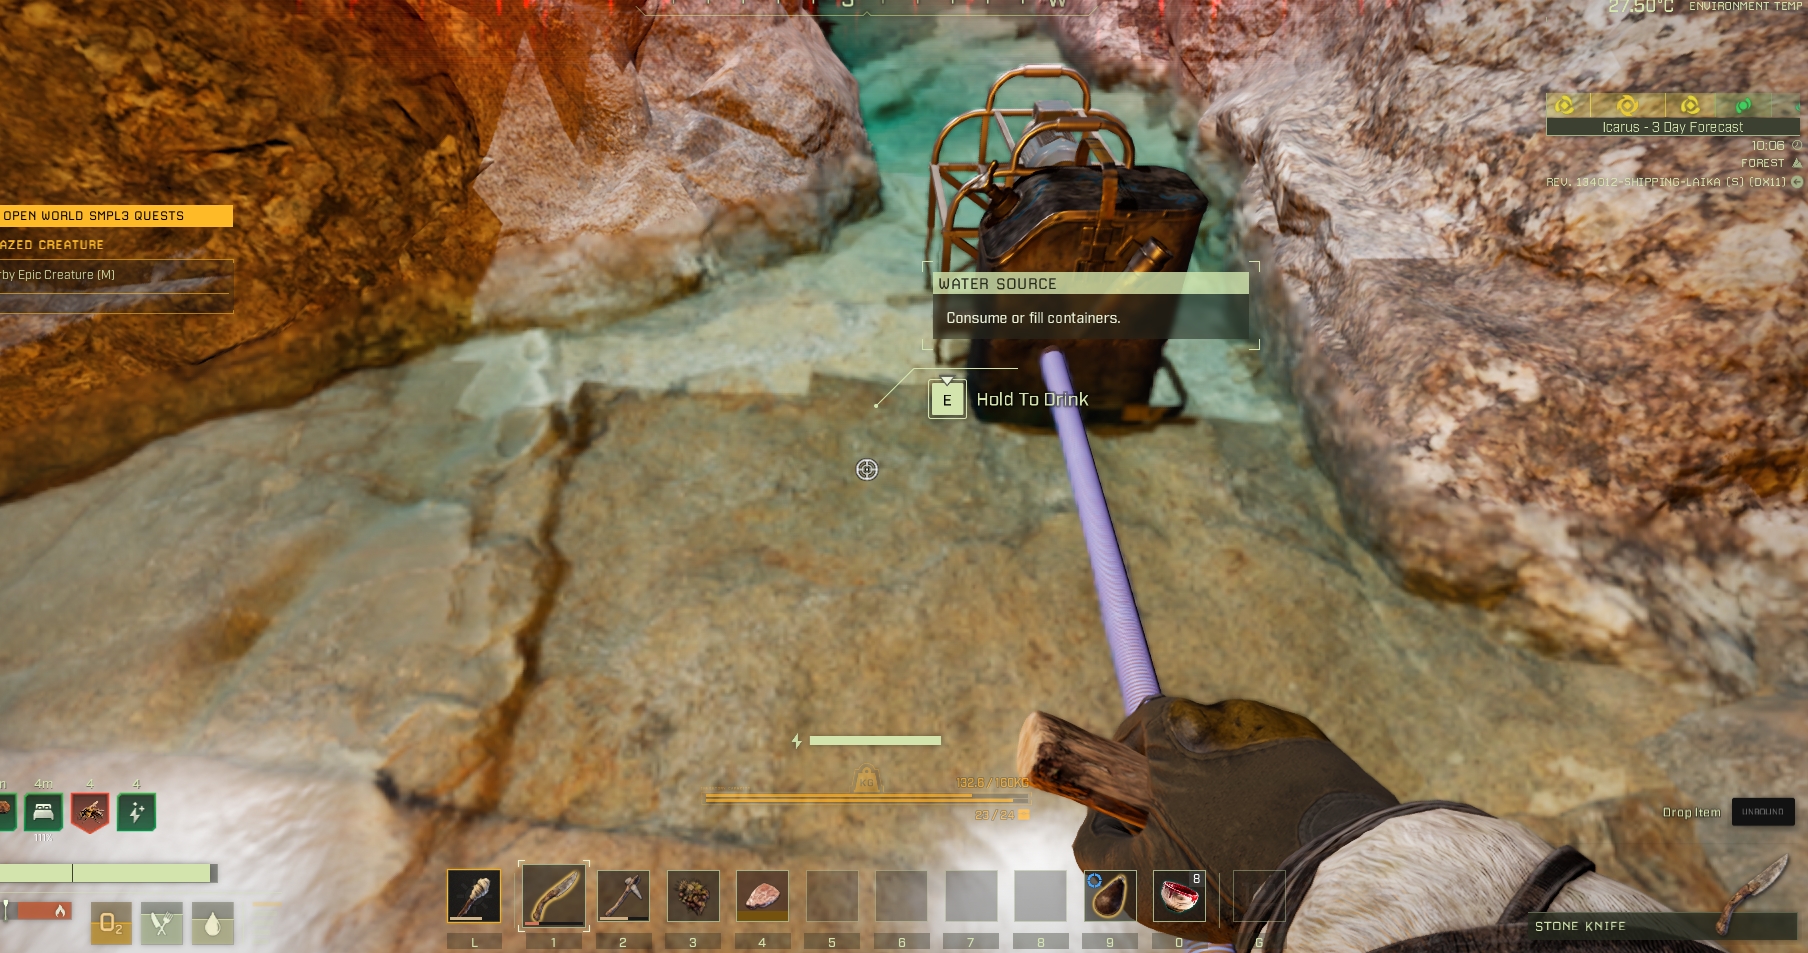
The base is located on a slight slope and that means you can add a water network of pipes underneath it. Remove the stone floor in front of the base (Y) to start then place a water terminal on each of the stone beams just under your base floor. Press Ctrl to crouch and get under the floor.
Next return inside your base and click with the water pipe tool on one of the deployable items which needs a water connection before going back under the base and clicking the nearest water terminal under the floor (no drilling holes in the floor required plumbers).
Don't forget to put the floor slab you removed back.
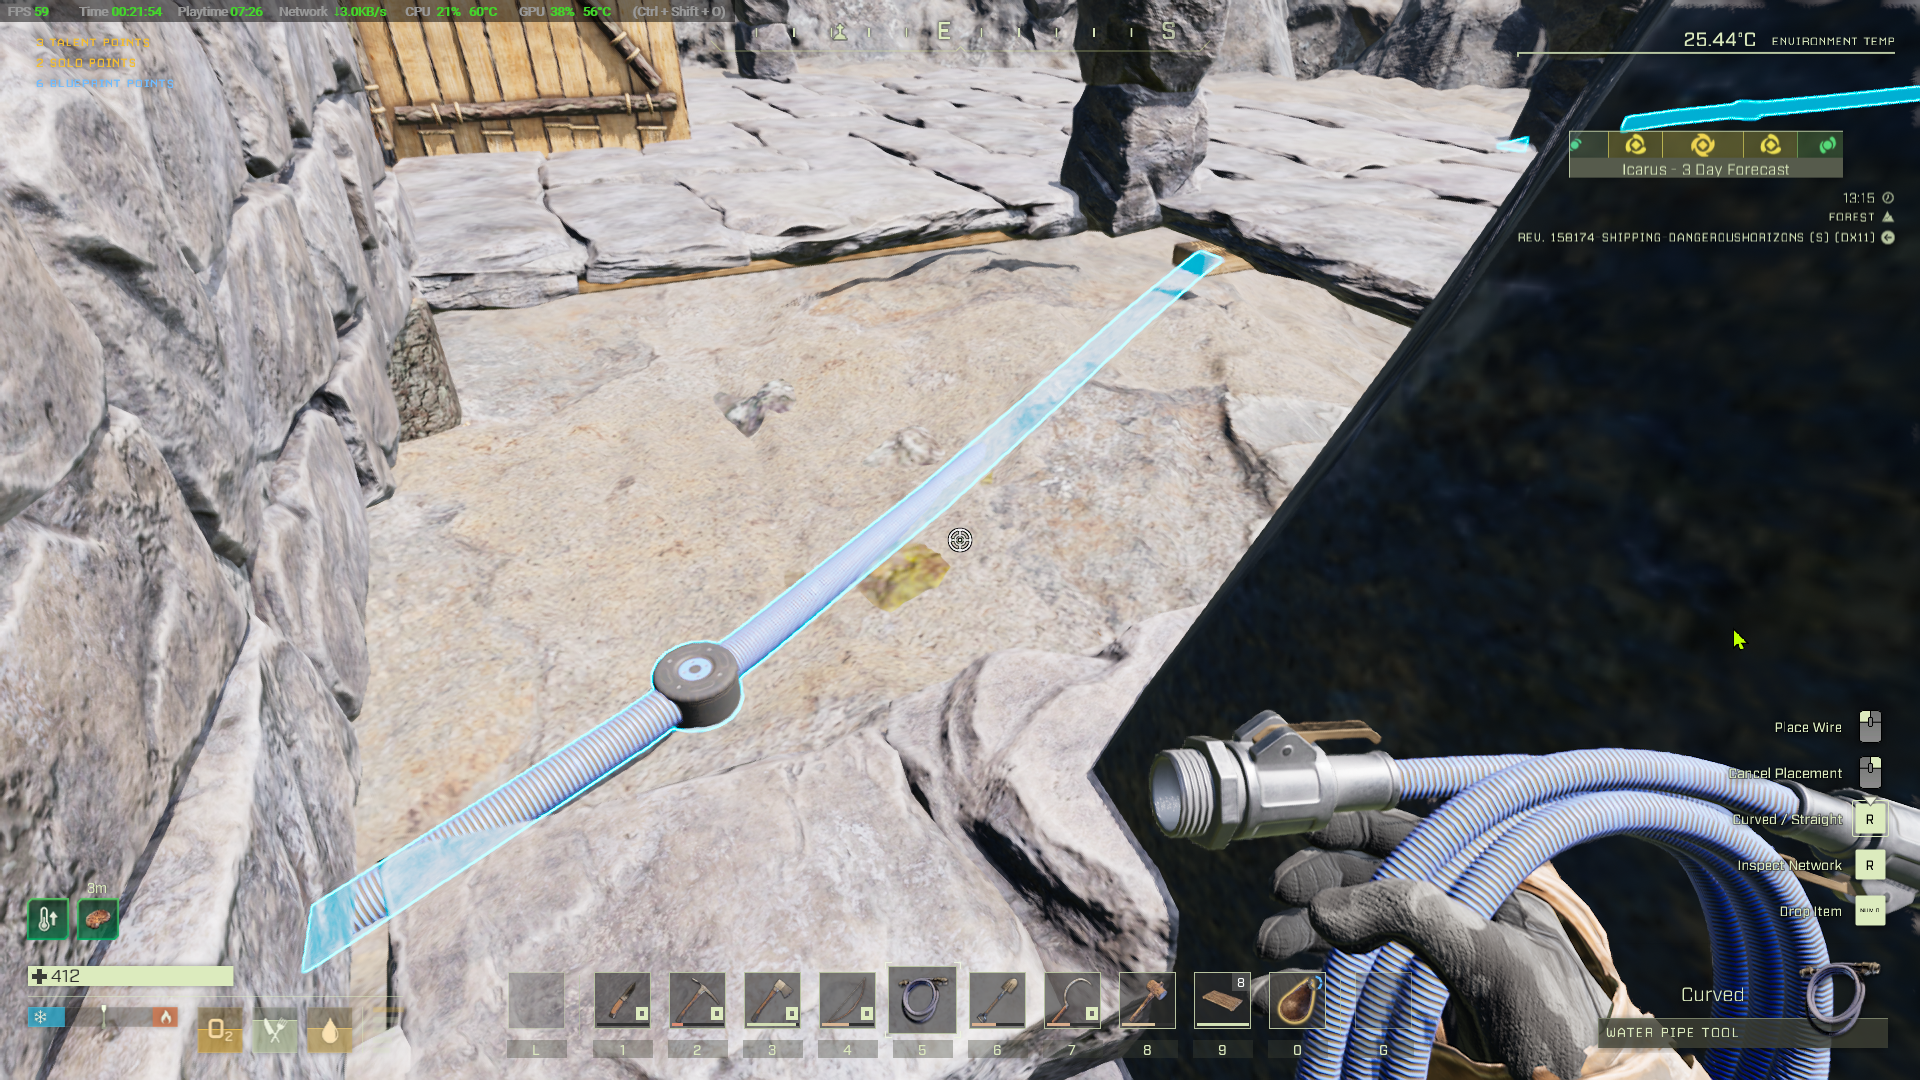
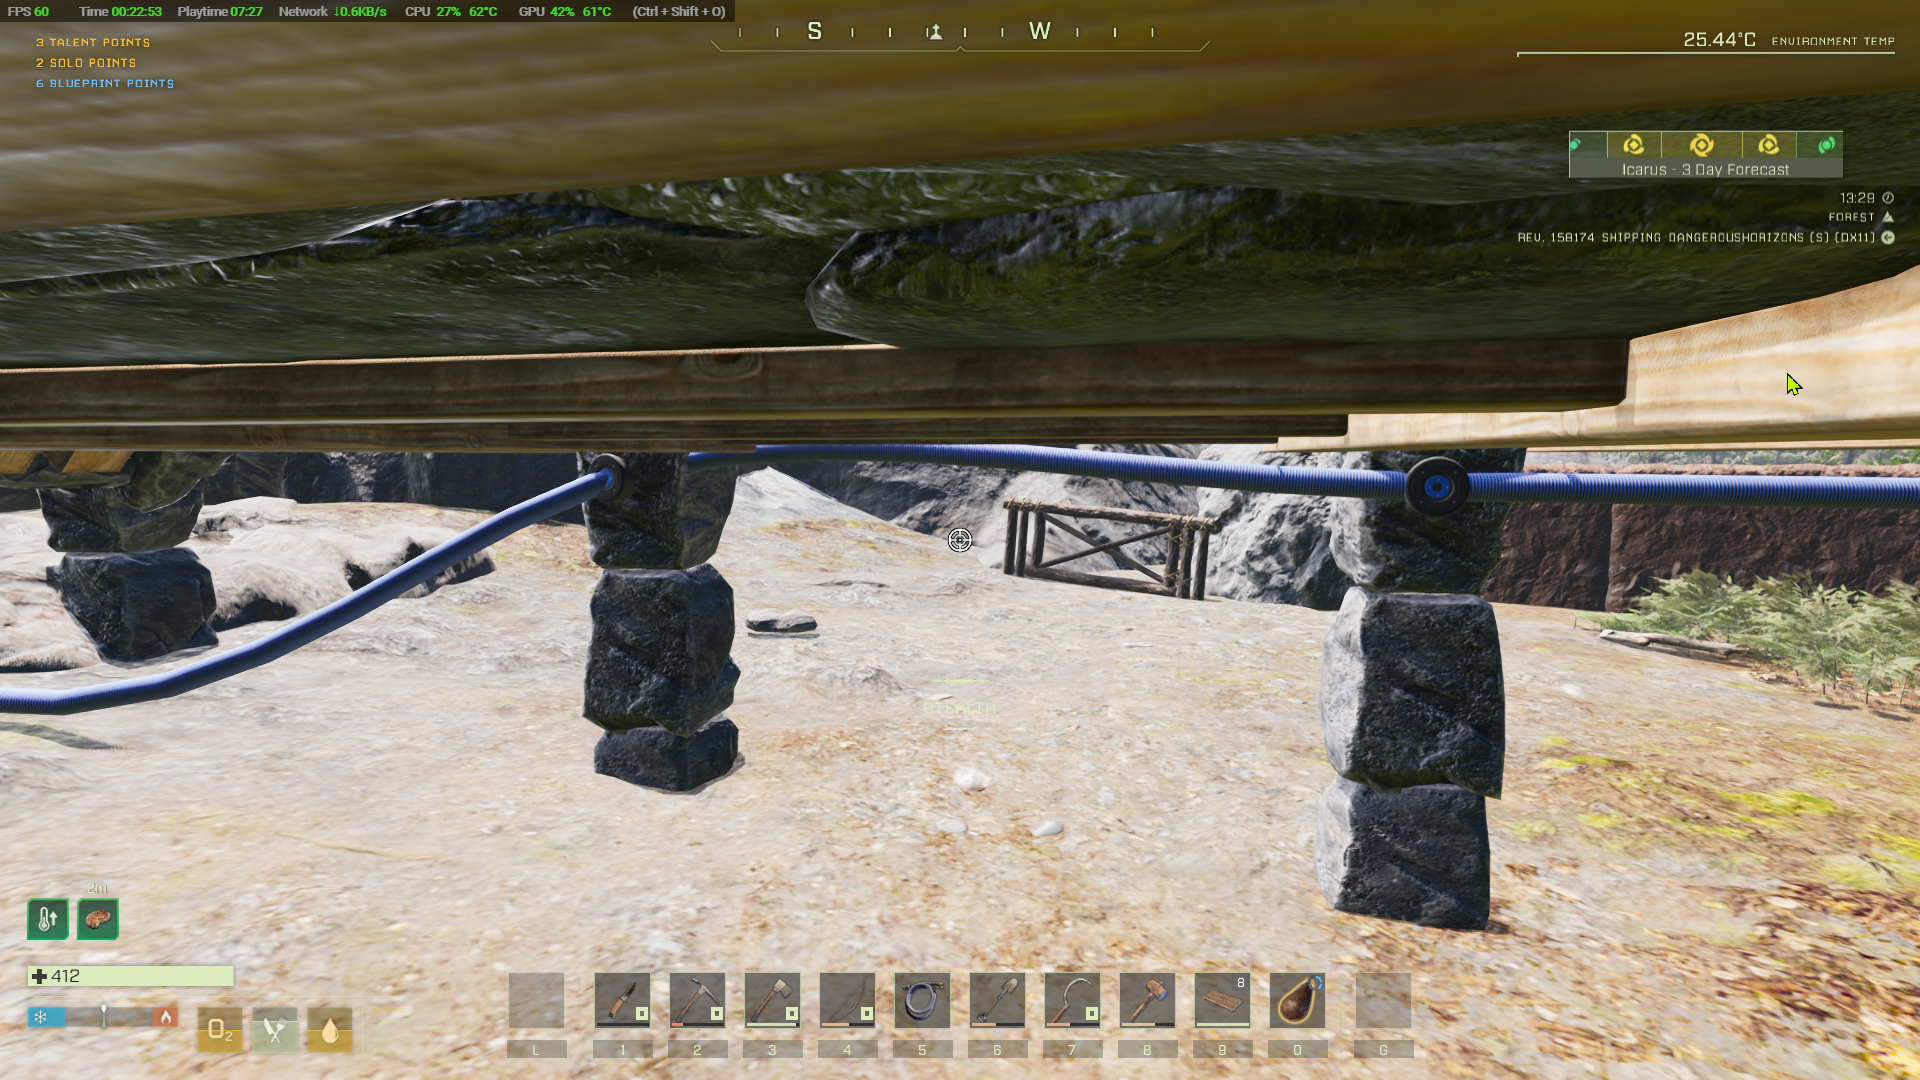
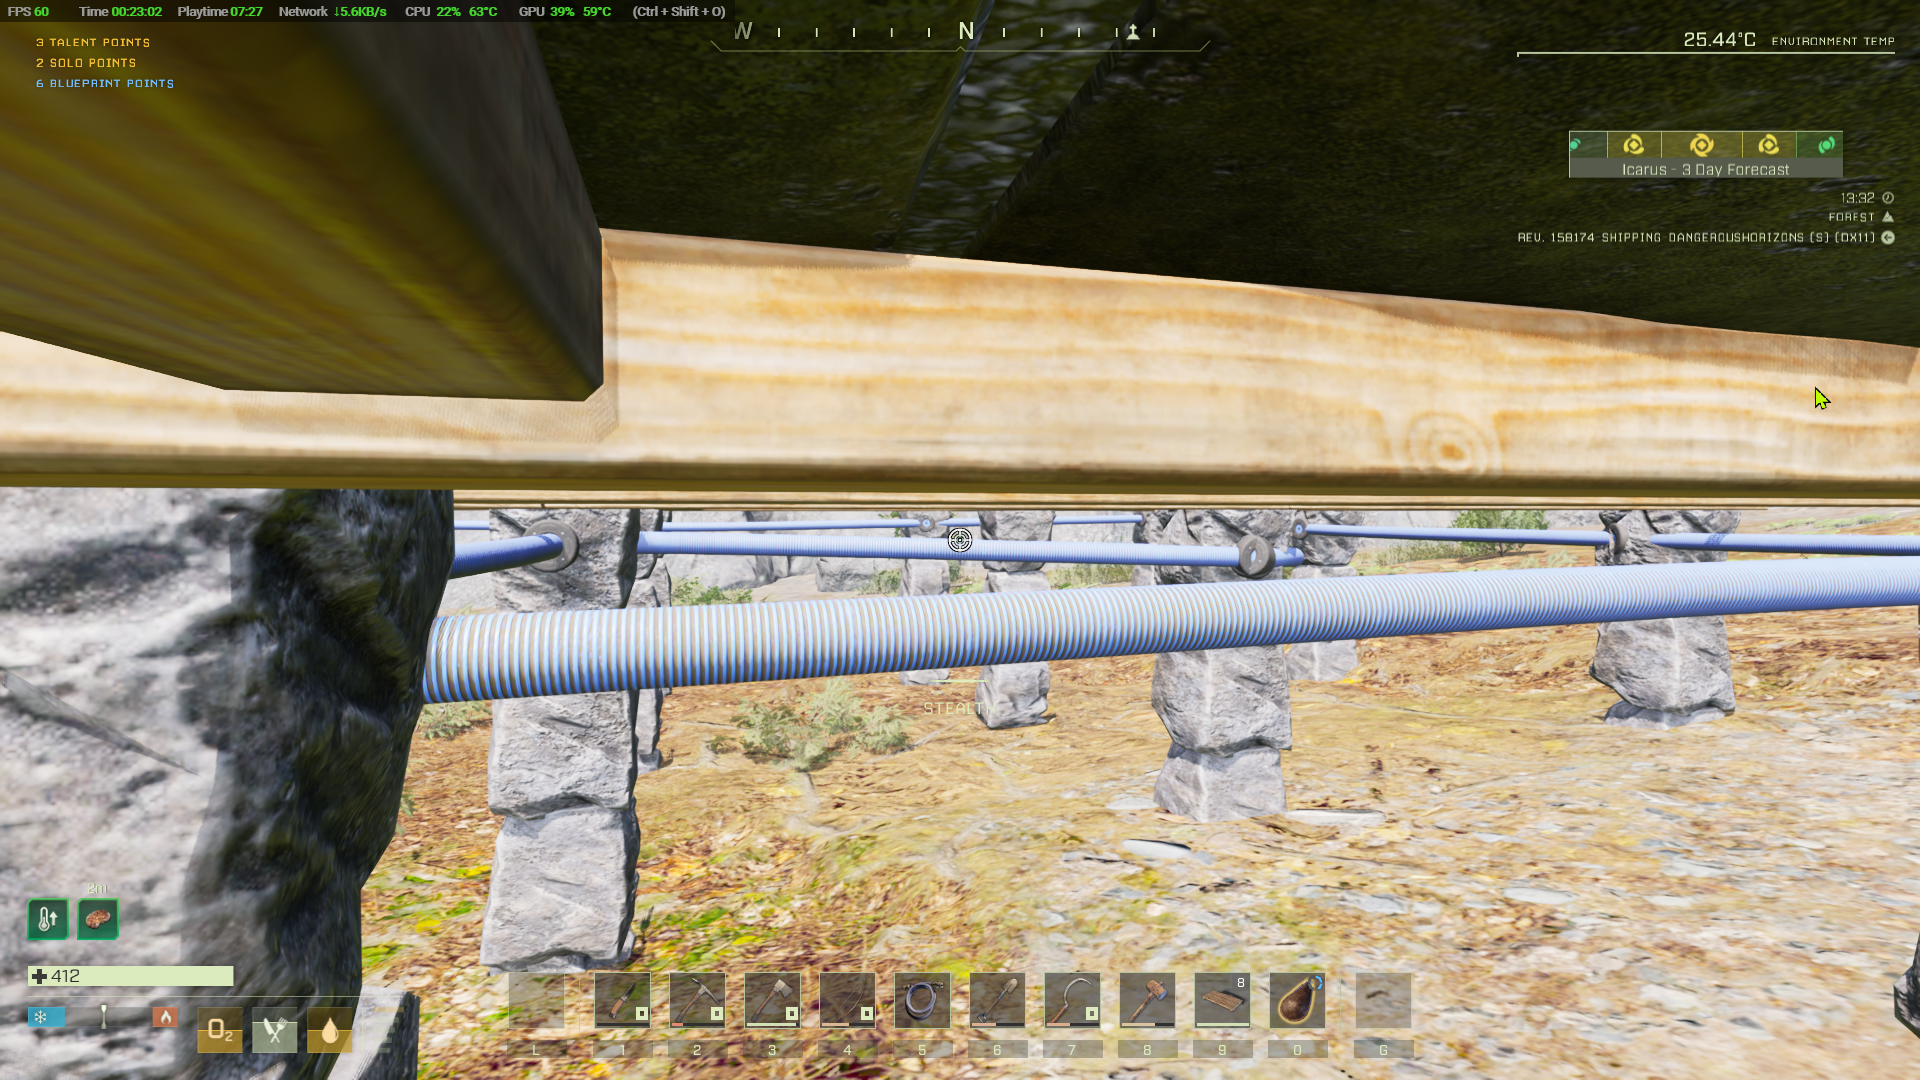
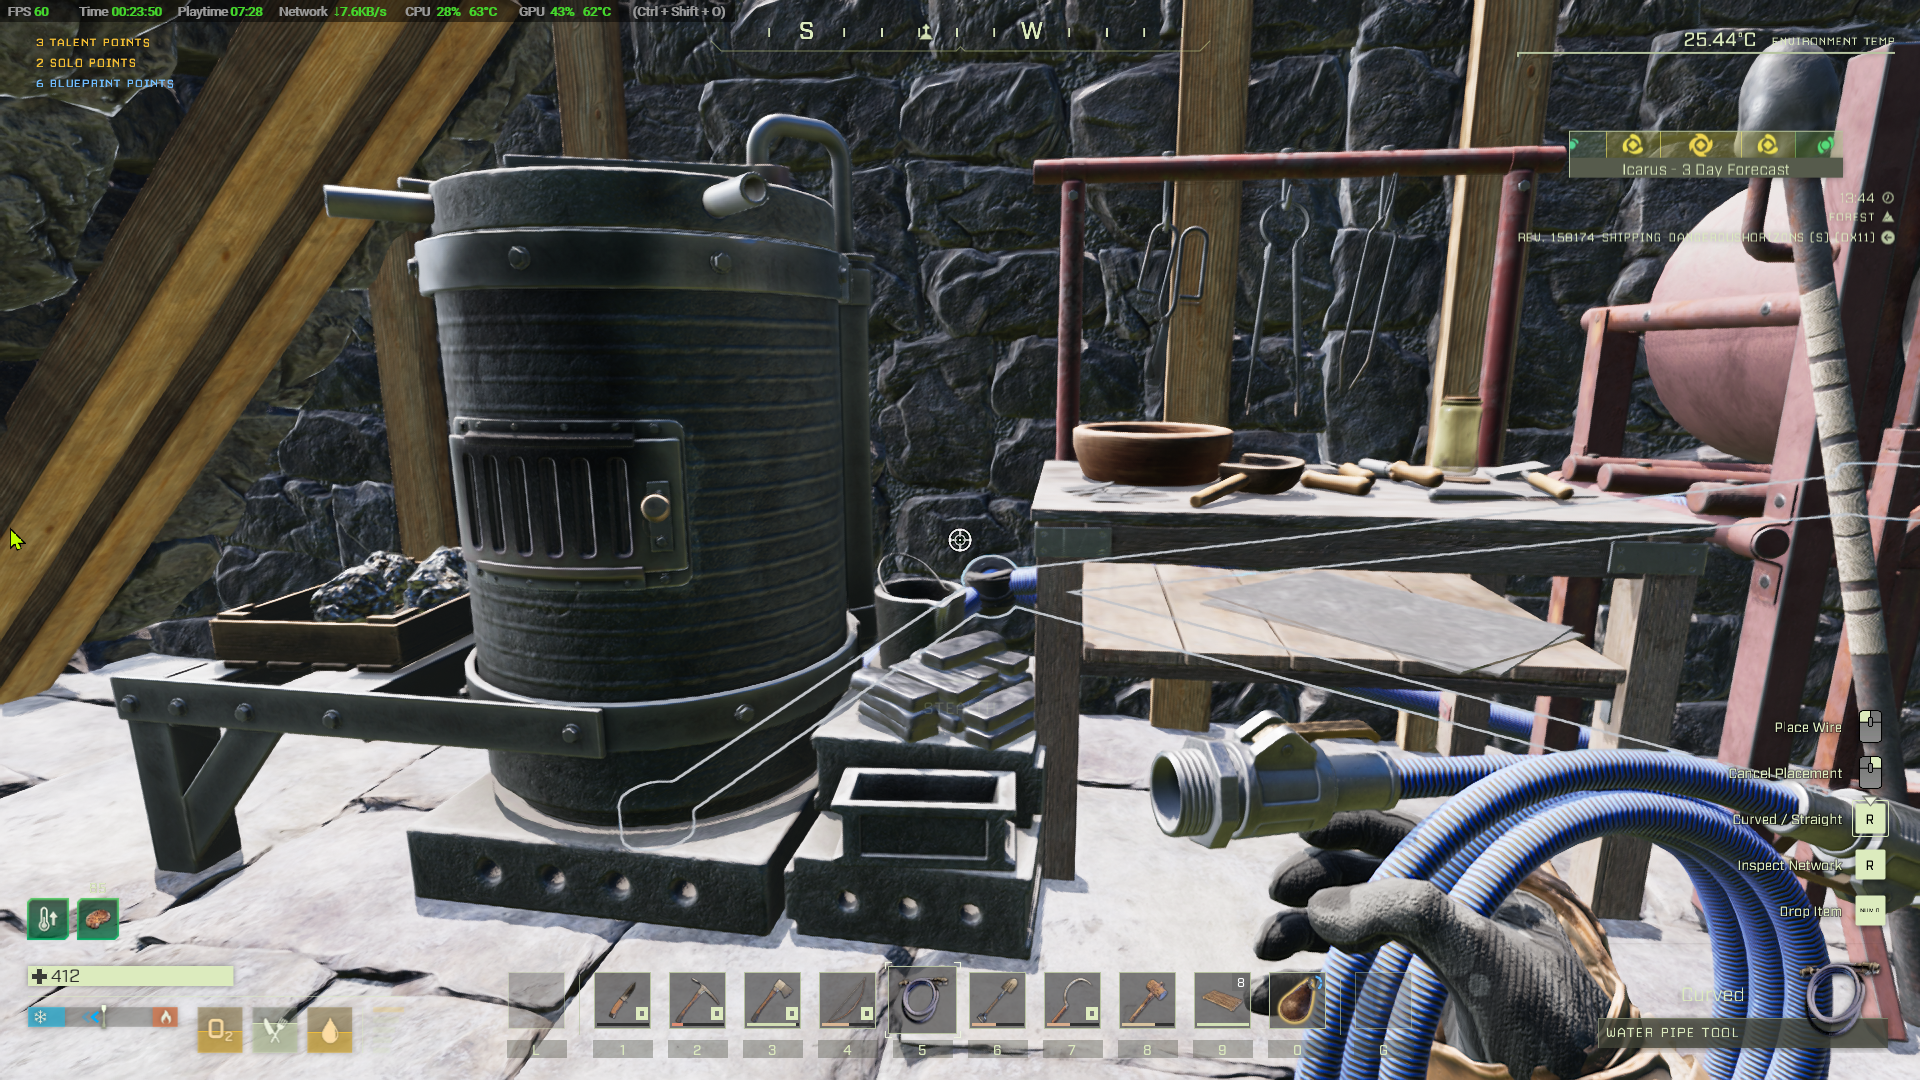
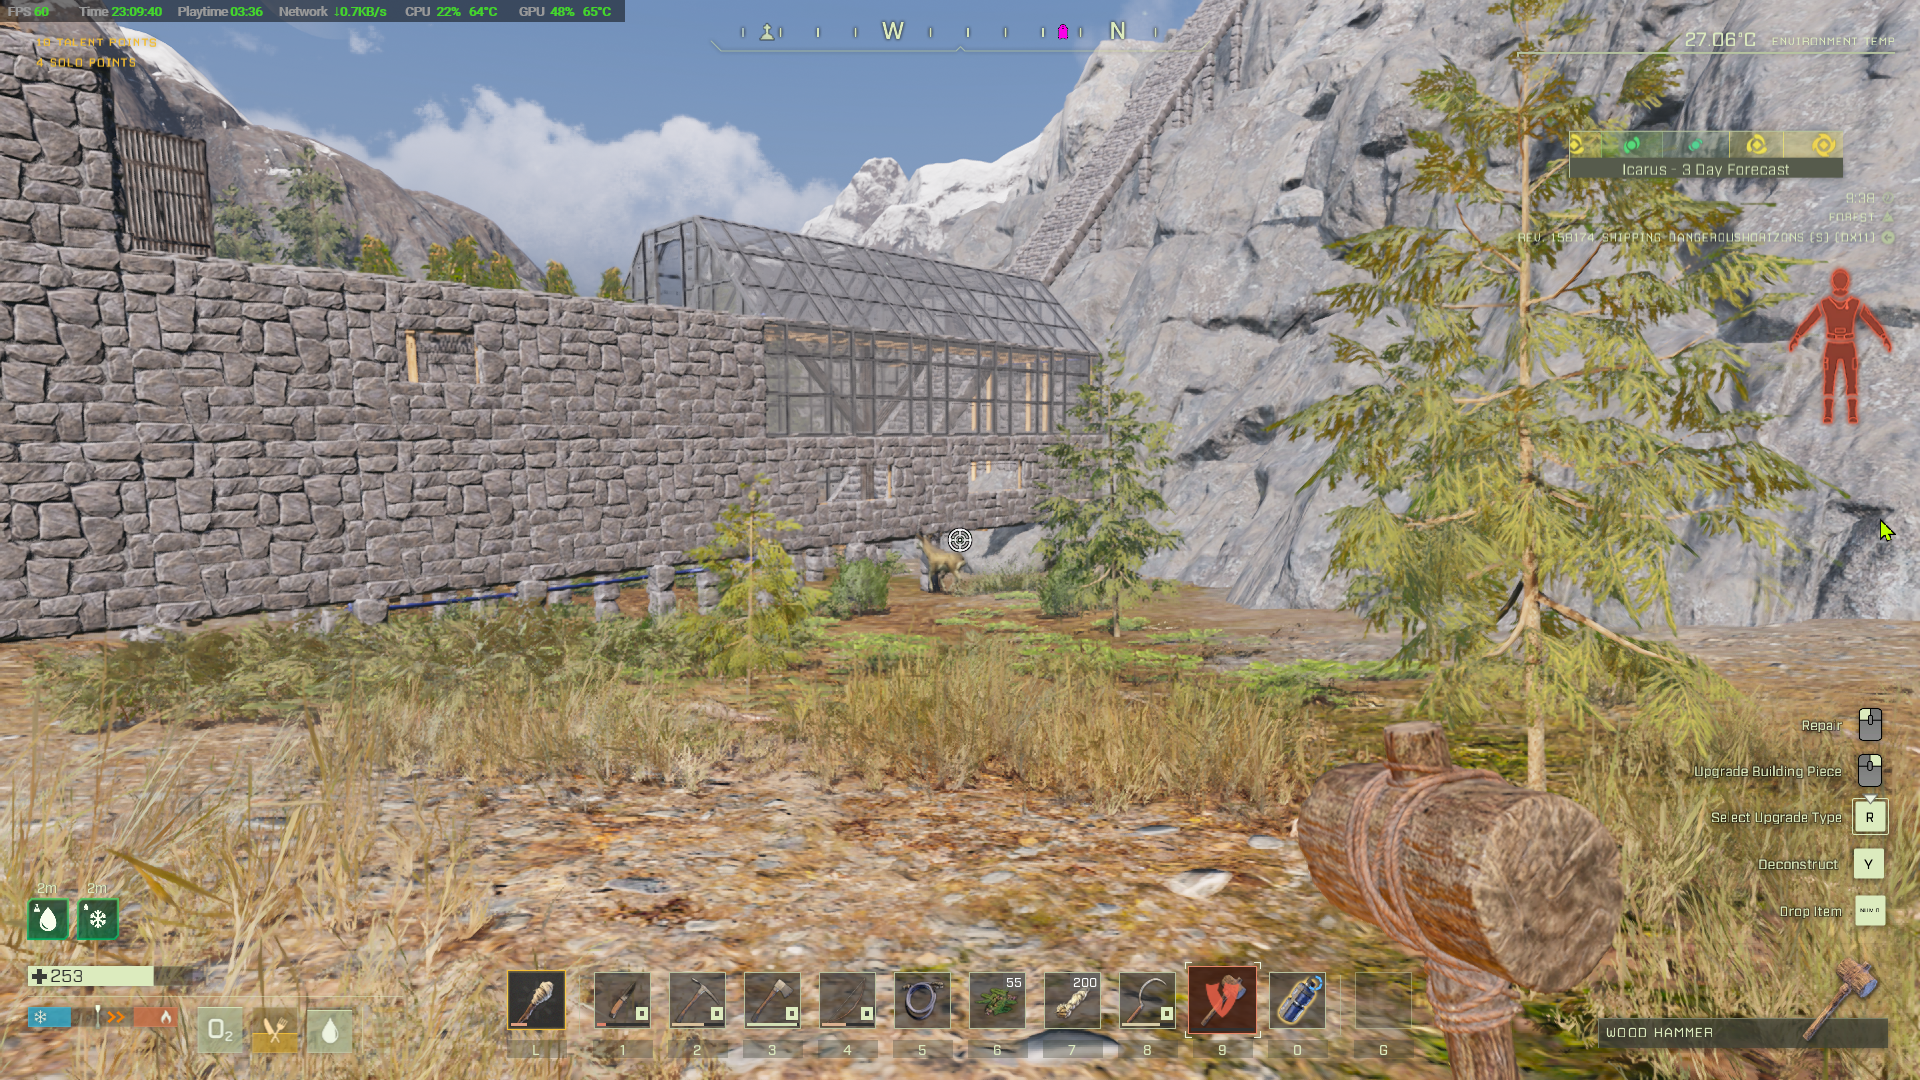
With a water connection deployables which need water will work much faster and the glassworking bench will now work to make glass objects. We're going to use it to make a greenhouse to protect the plants growing on the roof eventually. Before we do that though we need a better source of iron, copper, silicon, oxite and the other ores because you've probably used all the ores in those two caves nearby.
Fortunately there are other caves though. Here'a a map of all the cave locations in the Olympus prospect.

The Canyon is in grid box J14. The more chevrons each cave has the more resources the cave has. Caves with a line join to other caves.
Talking of water…
Do you drink enough water?
'They' say we should drink 8 glasses a day - about 3 litres. Expensive if you buy bottled water and unpleasant if it's chlorinated and fluoridated mains water. The answer is to install a reverse osmosis water filter which removes chlorine, fluorides, bacteria, heavy metals, pesticides and herbicides. Expensive to install initially but saves you a fortune in the long run. And the water tastes great!
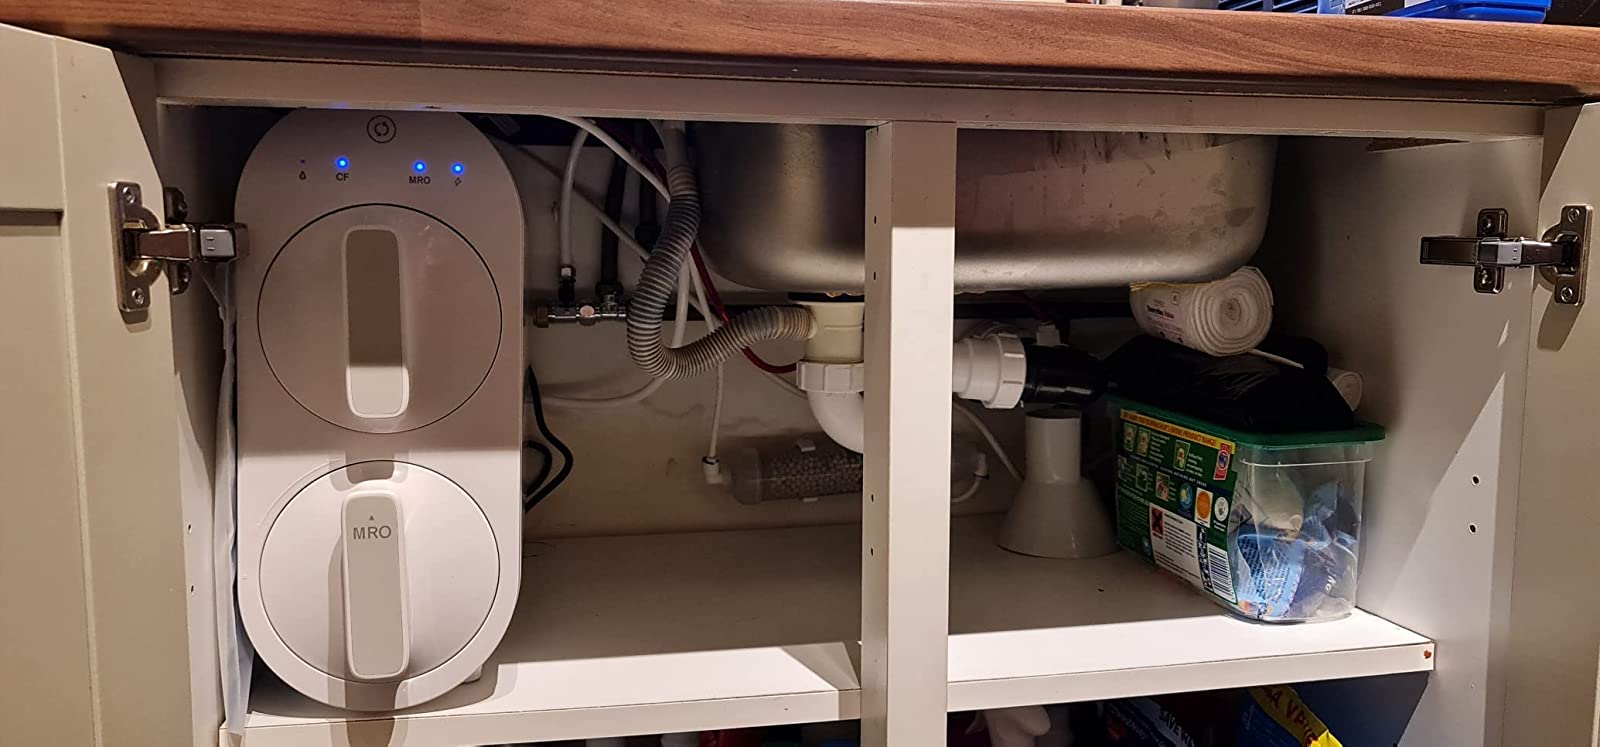
Personally I like the Waterdrop Reverse Osmosis system. I've got one installed under my kitchen sink along with a re-mineralisation kit because the reverse osmosis takes the good calcium and magnesium minerals out too. We use this for cooking, drinking, the pet's water (and we water our houseplants with it too).
The Waterdrop reverse osmosis kit installed under my kitchen sink.
Get the right coffee
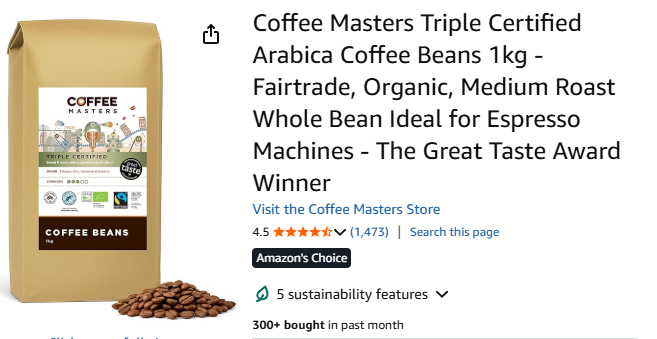
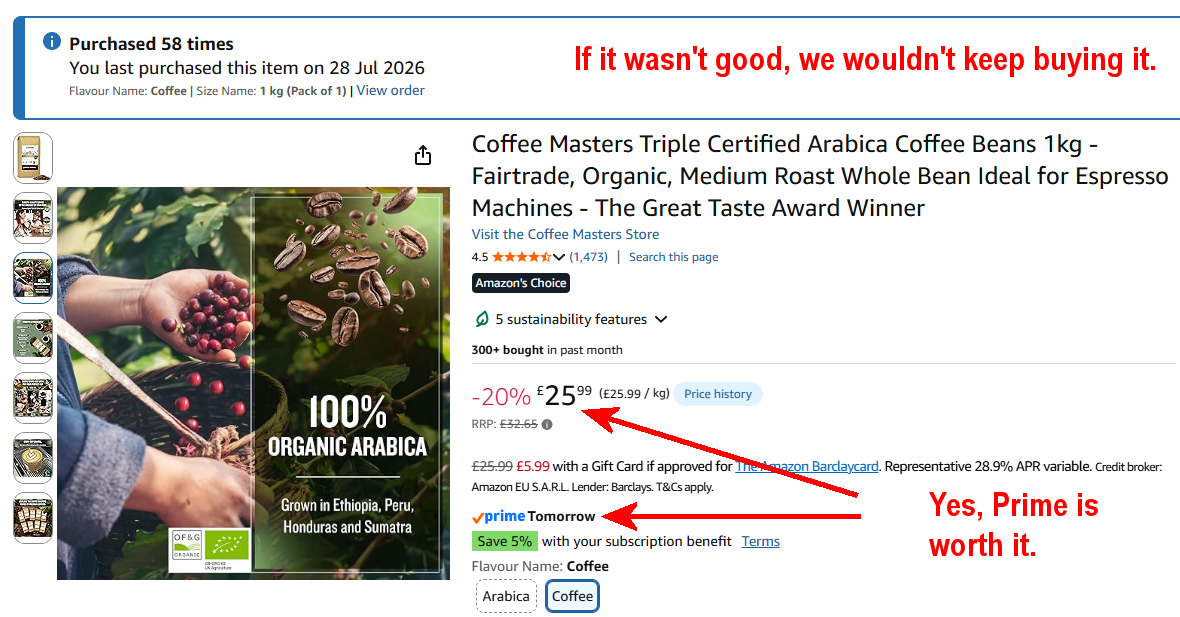
The most healthy coffee to drink is made from organic coffee beans, ground at home and drunk black. Try this one - the one we drink https://amzn.to/4lrosr0
The reason it's 'healthy' is because it isn't sprayed with pesticides when grown. That means bugs eat the leaves and the plant responds by producing chlorogenic acid to defend against them - a powerful antioxident. It will take you a little while before you get used to black, unsweetened coffee, but when you do, that's when you'll begin to appreciate true coffee flavour.
You'll need a grinder
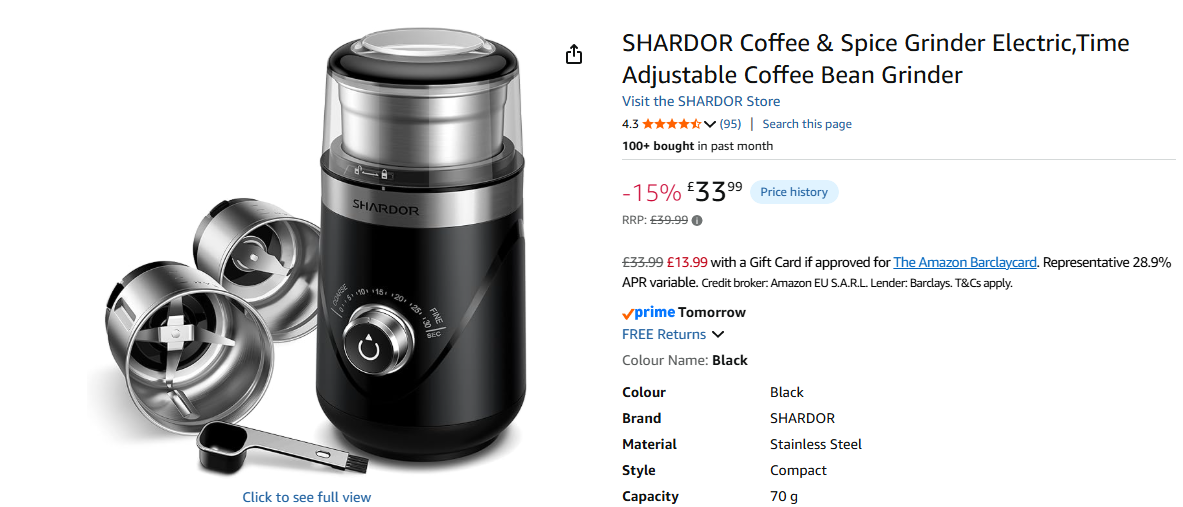
Try this one - a SHARDOR Coffee & Spice Grinder Electric,Time Adjustable Coffee Bean Grinder.
Coffee and spice grinder
It comes with an additional four blade cup for wet ingredients such as onions and garlic.
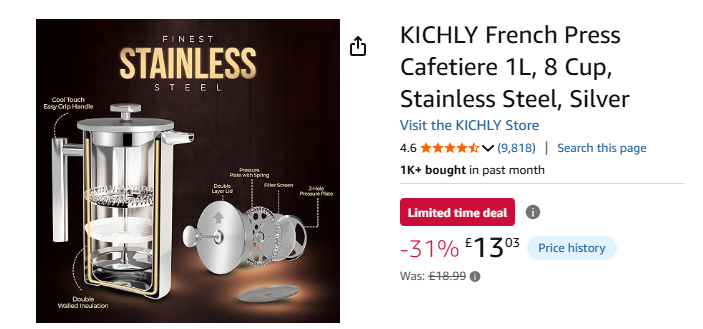
An 8 cup (4 mug) French press
Once you've ground your coffee beans add 50-53 grams of the coffee to a French Press and then fill it with just off the boil water Here's one of those.
Stainless steel insulated French press

Using Deep Ore Deposits
Caves aren't just limited to the individual ore nodes you break with a pickaxe. Look deeper against the back walls of most caves and you will discover massive, flat mineral outcrops embedded directly into the bedrock: deep mining ore deposits. You'll find them outside caves too.
These deposits cannot be harvested by hand. To exploit them you need a Biofuel Deep Mining Drill, unlocked in Tech Tier 3. Once placed on top of a deposit and fueled, the drill works away continuously, extracting raw ore into its internal hopper even while you are out hunting, foraging, or building back at base.

Building and Deploying the Drill
Craft the Biofuel Deep Mining Drill in your Machining Bench. Each drill requires:
- 12 Concrete Mix – mixed from tree sap, stone, and silica in the cement mixer.
- 16 Steel Ingots – forged in your concrete or stone furnace from steel bloom.
- 12 Copper Wire – drawn from copper ingots at the machining bench.
- 8 Epoxy – processed from crushed bone or sulfur and tree sap in a mortar and pestle.
Carry the drill and a filled Biofuel Can to the deep mining deposit. Point the drill at the center of the ore deposit until the placement silhouette turns green, then press left-click to secure it. Press E to access its inventory, drop in the filled biofuel can, and click Activate.

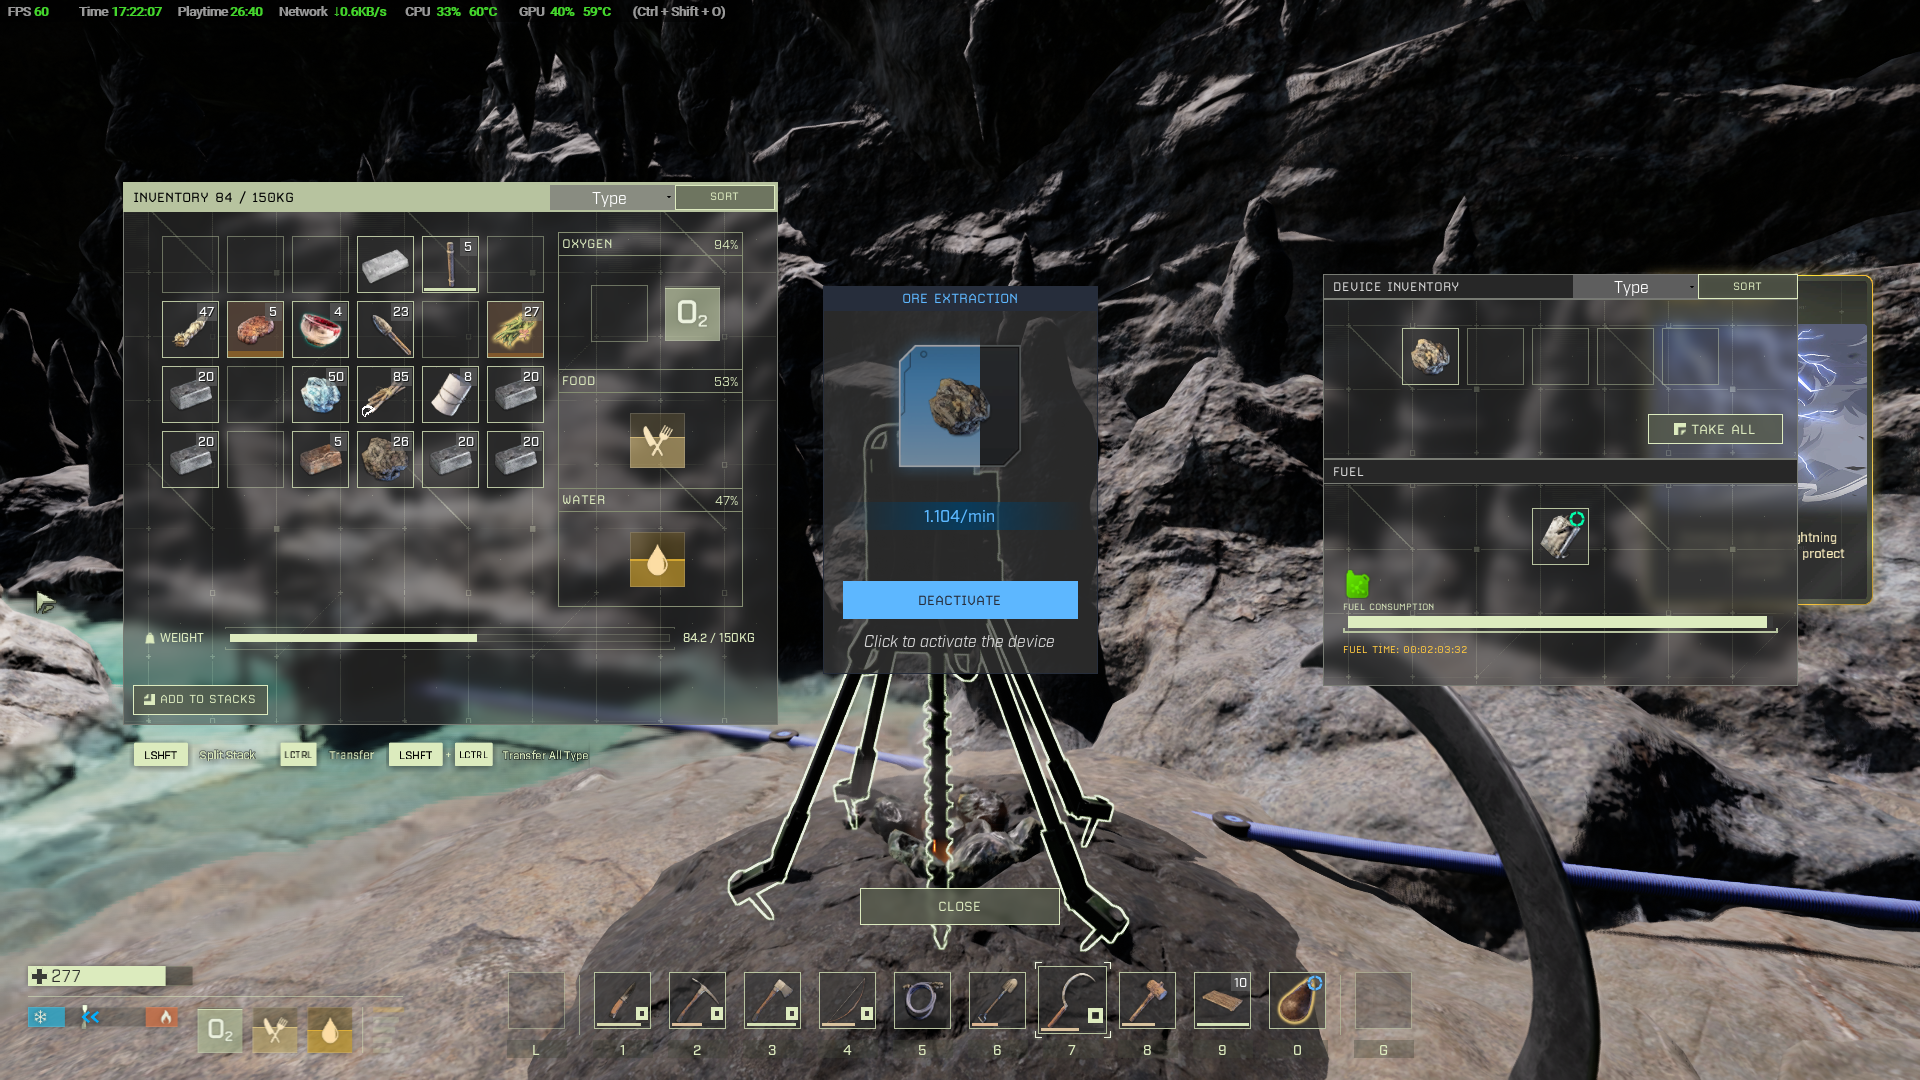
A single full biofuel can keeps the drill operating for roughly 30 to 45 minutes of real time, accumulating hundreds of units of raw ore. If you are drilling remote from your base then keep a crate nearby so you can unload stacks into storage and run them back to your furnaces in manageable trips. With Iron and copper ores some distance from your base it's worthwhile to have a stone furnace nearby to smelt the ore before transporting it since ingots are lighter than the equivalent ore
Cave Worm and Bee Warning
Deep caves often spawn Cave Worms when you revisit them. Always keep your knife or longbow ready when returning to collect ore from your drills.
It's worthwhile to leave a stairway in place to allow quick access to beehives in caves too.
Fuel Efficiency
Don't leave empty biofuel cans in the drill. Swap them with a fresh can and drop the empty back into your Biofuel Composter with spoiled meat, fiber, sticks or raw wood plus sap to refill it.
Later in Tech level 4 you can make an electricly powered drill.
Infinite Veins?
Unlike surface boulders, deep ore deposits contain a massive reserve (often several thousand units of ore). One vein of iron or coal can power your base operations for weeks.
Clifftop Access: Conquering the Canyon Walls
The canyon provides natural shelter and pure cave water, but hauling ore, lumber, and game around the long perimeter trails wastes valuable daylight. By bridging the upper roof of your three-tier stone base directly to the canyon rim, you create an effortless highway between the valley floor and the resource-rich plateau above.
Because stone stairs and walkways have limited horizontal reach before collapsing under structural load, you need a framework of vertical support columns anchored securely into the cliffside. The rule is that each section of stone floor/roof must have at least one corner supported. As you are able, add railings to the stairs.

Step-by-Step Staircase Assembly
To safely scale the rock face without risking broken legs or structural collapse, construct the ascent in stages:
- Drive Pillar Anchors: Stack Stone Beams vertically against the rock face directly adjacent to your third-tier roof landing[cite: 8]. Stone beams provide the load-bearing integrity needed to prevent ramps from snapping off under player weight.
- Build Switchback Landings: Avoid long, single-run ramps. Alternate sections using Stone Half Pieces or full floors as level turning platforms every two vertical tiers.
- Snap Left & Right Stairs: Tap R while holding a stair piece to alternate the orientation into a clean switchback spiral ascending the rock face[cite: 8].
- Cap the Plateau Rim: Extend a final cantilevered stone floor piece over the cliff lip, snapping it flush against the terrain to avoid sudden snagging hitboxes when sprinting. You may find it useful to erect a stone column at the stairway end points to make it easy to locate


With this staircase secured, you can sprint from your basement furnaces straight out into the forest biomes in seconds. This clifftop landing also serves as the ideal high-altitude perch for deploying Wind Turbines, tapping maximum wind velocity to generate electricity for your Tier 4 machines.
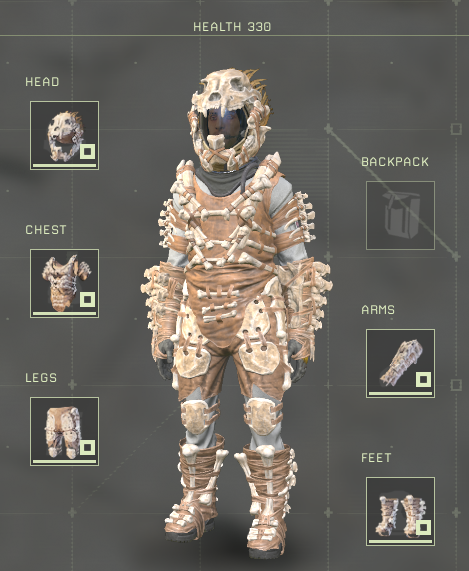
Bone armor?
Archaeologists working along the Irtysh River near Omsk uncovered a suit of bone armor. It has not been dated, but based on where it was found it was probably made in the Bronze Age, perhaps as old as 3500 to 3900 years ago.
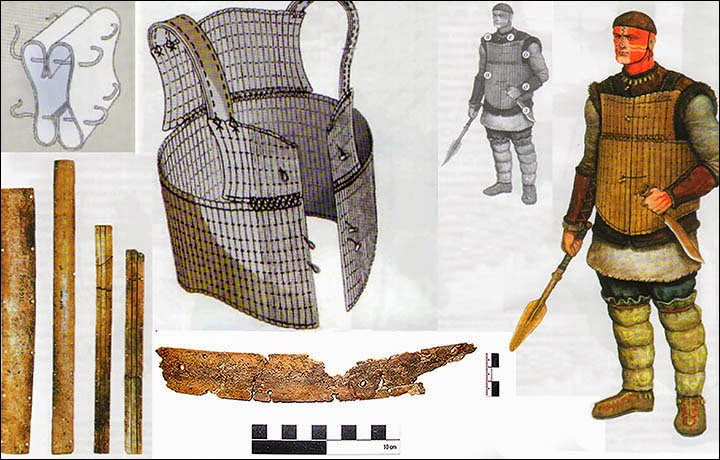
In more recent times (1899) American indians were often depicted wearing a bone chestplate to protect their heart and lungs.

What's this?
In one of the images on this page you'll see this in the top right corner of the screen.
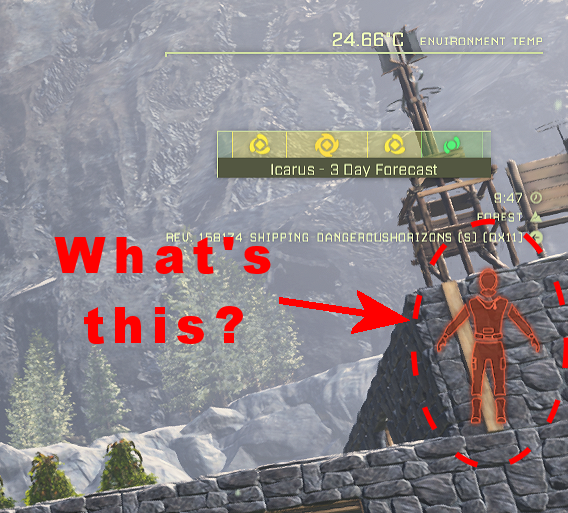
Once you've repaired the armor you will see it when you press 'I' to look at your inventory.
The Greenhouse
It's well worth building a greenhouse on the base roof because:
- Food Security: You can cultivate reliable staples like soybeans and wheat right at home.
- Stamina & Warmth: Once you reach level 25 and unlock the thermos flask, you can brew hot coffee to stave off hypothermia in arctic zones and sharply increase stamina regeneration.
- Medical Supplies: Grow yeast, reed flower, and lilies to produce healing tonics and antitoxins.
- Domestic Lumber: Cultivating coconut palms provides an effortless supply of food, pure water, and continuous wood without having to fell distant trees.
- Biofuel & Oil: Growing plants for bulk fiber allows steady conversion into biofuel and organic resin for composite production.
Enclosing the roof with reinforced glass qualifies your plots for the internal Greenhouse Tier bonus, significantly speeding up growth cycles. Plumb hydroponic crop plots directly into your sub-floor water pipe network to keep them permanently hydrated without manual bucket trips.
I build a large 3-level greenhouse divided into two functional zones: a full-height open side dedicated to 8 coconut palm trees, and a three-level terraced side for smaller crops that don't need vertical clearance. Across these terraced levels, I plant at least 15 fiber, 6 soybeans, 6 wheat, and 2 each of all the other crops. Investing in the Agriculture branch of the Talent tree for the 'Fresh is Best' perk ensures none of your mature crops wither on the vine, turning the greenhouse into zero-decay food storage.

Coffee
Once you reach level 25 you can unlock and craft a thermos flask. It carries 20 refills of water and lets you brew coffee! Coffee warms you in freezing biomes, delivers a substantial stamina boost, and speeds stamina regeneration. Brew it by placing a filled flask of water and fresh coffee beans into the firepit.
Solo Glut Tip
Because growth is accelerated under glass, solo players often end up with excess vegetables. Feed any surplus straight into your Biofuel Composter to keep your mining drills and water pumps supplied with infinite fuel.
 Click image to zoom in / out and right button drag.